The efficiency of a tool is not just measured on its qualities but also on the dexterity with which the user handles it to perform a job. As such, knowing how to use a tool is as crucial as having a good tool. In the context of electricity-related jobs, the multimeter is one of those tools that the electrician does not leave behind; it is indispensable. But what exactly is a multimeter and what does it do?
The Nature and Function of a Multimeter
A multimeter is a tool used to measure electrical quantities such as current, voltage, and resistance. The process implies measuring the input value by connecting the multimeter to an electrical object and waiting while an analog processor converts the power to a digital value and displays it for the user to read.
But while this is true for a digital multimeter, an analog multimeter which is the second type of tool, displays amperage on a graduating scale using a pointing needle.
To appreciate multimeter tips and tricks, it is important to know how to use the tool and that also entails knowing its parts. Below are the main parts of a multimeter.
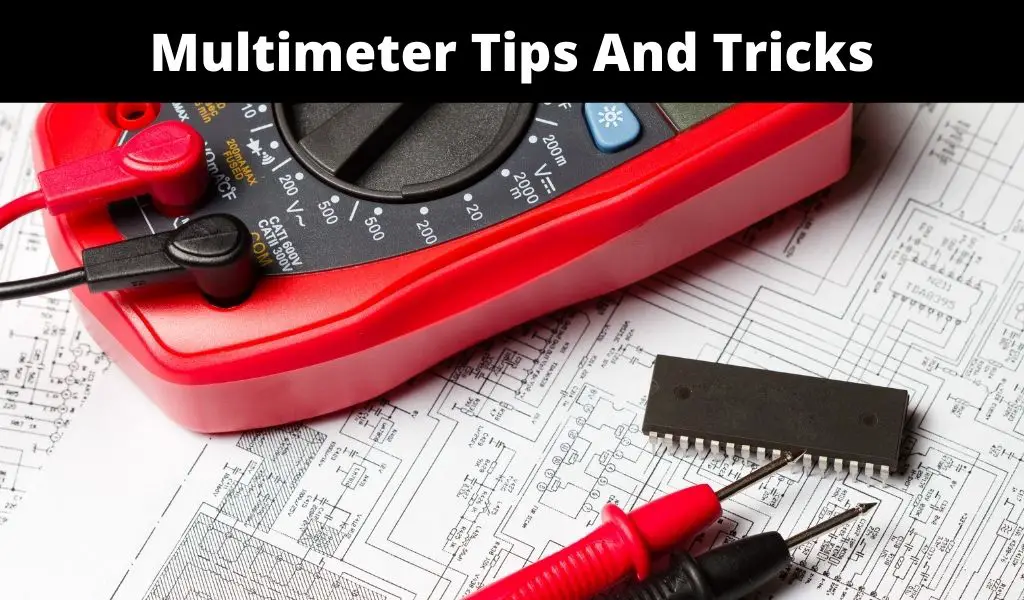
The display: the screen where the current or voltage value is displayed. An analog multimeter shows the pointer on the value of the voltage while the digital version shows a digit value on the LCD screen.
The control switch: the switch that is used to select the function or quantity that you want to be measured. This may be voltage or current in AC or DC, or frequency in Hz among other measures. When selecting the quantity or function, the user also selects the range of the function, say amperes or milliamperes.
The probes: these are insulated metal needles which when brought into contact with wires on a printed circuit board (PCB) test the presence and quantity of power. They have color codes where red goes for positive and black for a negative charge.
The probe connections: they are the three points that connect the probes and can either be the common (COM) or the voltage/current. The black probe is connected to the common port while the red is connected to the voltage/current port.
Transistor measurement: this is the part that, in some designs, separately measures transistor resistance. The transistor has three terminals: base, emitter, and collector.
The power source: usually a battery or a set of two small AA cells. In some designs, the power source is electricity and so the tool has a plugging port.
How to Use a Multimeter to Test Continuity in a Wire
As indicated earlier, the multimeter can be used to test electrical current, voltage, and resistance among other more complex measurements. We shall use the example of testing wires to explain the working of a digital multimeter. The purpose is to establish continuity through the wire
- Step 1: Disconnect the wire to be tested from the power source.
- Step 2: Switch on the multimeter and set the function to continuity using the control switch.
- Step 3: Connect the red-coded probe to the voltage/current connection and the black the common connection.
- Step 4: Place one of the probes on one end of the wire and the other on the extreme end. It is not important what probe you place on what end.
- Step 5: Check the reading on the display. If the reading is zero or near zero, the wire is good; has continuity. The display will also show 65ohms due to the resistance from the fingers holding the probes and the wire. If the wire is not live (no continuity), the reading will display 1 or OL (open loop). This implies that the wire should not be used in an electrical circuit and must be repaired or replaced.
Important Multimeter Tips and Tricks
With the knowledge of the multimeter parts and how to use it to test current, it is easier to appreciate a few important multimeter tips and tricks that will help you save time and ensure efficient use of the tool.
- Always check the circuit impedance before powering to prevent short circuits. This is done by putting the multimeter into the impedance mode and checking the impedance value between the positive and the negative voltage inputs. The standard impedance is between 5-10K ohms. Anything below that announces a possible short circuit.
- When testing, always connect the multimeter directly to ground. This implies connecting a banana cable (the single-wire electrical connector that is used to join wires to equipment) from the negative port of the multimeter to the ground on the power supply before hooking the device up to the supply ground. When this is done, the positive probe is enough to do the testing.
- Take note of the alarm sound or beeper on your multimeter. Ensure that your beeper is enabled when testing. If there is a zero or low impedance, the beeper will announce the problem without requiring you to check the readings.
- For safety reasons, always use hand gloves when using a multimeter.
- If you have a digital multimeter, regularly test the batteries to avoid surprises and stalled jobs when already at your work station.
- When testing, carefully select the right function on the control switch. Testing a high AC voltage on a DC function can irreversibly damage your multimeter.
- Especially for beginners, be careful about experimenting with high voltage/current.
- If the multimeter is your daily working tool, be sure to purchase a high-quality design, preferably a digital version that offers advantages of speed, accuracy, and durability despite adding a few extra pennies to the cost.

Final Thoughts
Expert knowledge of your multimeter and how it functions is important for efficiency and the safety of both the user and of the tool. Having these multimeter tips and tricks can save you and your tool from the damage of a short circuit among other possible occurrences when a multimeter is wrongly used with electronic objects.