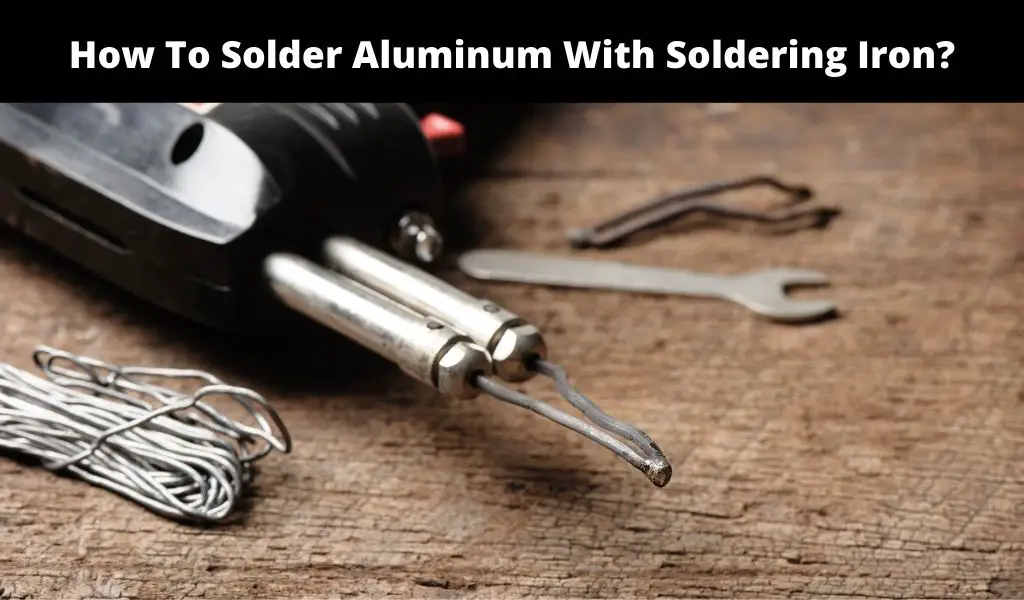
Are you opting to solder aluminum with soldering iron and therefore hunting for a suitable guideline that will enable you to achieve excellent results? If so, this step- by- step guide on how to solder aluminum with soldering iron discussed in this article will prove helpful with your needs.
Soldering is a popular technique of bonding metal together applied worldwide. Though aluminum as a metal can be soldered, the process can be hectic and time- consuming or fail to produce desirable results if you will not adhere to all the steps required accordingly.
Before you commence the process, it is vital you have the appropriate aluminum soldering kit as well as other equipment crucial for delivering excellent results.
Facts You Require Knowing Before Starting the Process
First, it is important to note that aluminum oxide can’t be soldered and must, therefore, be scrapped off. Generally, the soldering procedure must thus be performed very fast before more of the aluminum oxide is formed.
Aluminum is a product having a relatively lower melting pointing, i.e. approximately 660 degrees. This means you will be required to have a unique soldering product specifically one that has a lower melting point.
Preparation and Safety Tips Before You Start to Solder Aluminum with Soldering Iron
* Identifying the Alloy if Necessary
Although pure aluminum can usually be soldered, it is considered a hard metal and therefore not easy to work with. Most aluminum products you can find are aluminum alloys. Many of them can be soldered using the same method, but there are a few which are very hard to work with thus requiring to be attended by a professional welder.
In case the aluminum product you are using is marked with a number or letter, you should ensure you look if there are specific requirements you’re supposed to adhere to.
*Choosing a Low- temperature Solder
As we’ve discussed previously in this write- up, aluminum usually melts at a temperature of 600 degrees, which is relatively lower. Therefore, since it has a higher heat capacity, it will be challenging to solder if you will use general- purpose solders. Though an alloy made via a combination of aluminum, zinc or silicon can be used, this review will concentrate on the use of soldering iron since it also has a melting point that is significantly lower.
However, ensure you confirm the soldering iron you purchase is specifically meant for your kind of joint, i.e. aluminum- aluminum.
*Picking an Aluminum Solder Flux
It is vital the flux you use is particularly meant for aluminum. Therefore, it is appropriate you buy both the iron solder and the flux from the same store and confirm that they are supposed to be used together. The required temperature for your flux should have a melting point same as of the soldering iron.
* Setting up a Work Station that is Safer
When working, you must make sure you wear a respirator mask in order to protect yourself from contacting the resulting toxic fumes. You should also ensure you are working in a place that is well- ventilated. Some of the other necessities include having non- synthetic clothing and heavy leather gloves.
A Step- by- Step Guide on How to Solder Aluminum with Soldering Iron to Follow
Step#1: Cleaning the Aluminum
Clean the aluminum carefully using a brush, preferably a stainless steel one. This is essential since aluminum can easily form aluminum oxide once it comes into contact with air. This can result in a layer of oxide being formed which cannot be joined.
Scrub the aluminum thoroughly using a steel brush. You should also clean the iron solder and the flux so that you can eliminate all the possibilities of an oxide forming.
In case you are using an old aluminum that has heavy oxidization, it is recommended you either grind, sand or wipe using acetone and isopropyl alcohol.
Step#2: Clamping Together the Base Metals
This step is necessary only if you are combining two aluminum pieces. If you are combining two aluminum pieces, clamp them together in the specific position you want to join them. You must make sure that between the two aluminum pieces, there is a slight gap for the iron solder to flow.
In case you realize the aluminum pieces are not fitting together smoothly, try making the joined places smooth via bending or sanding.
Step#3: Applying the Aluminum Solder Flux
After you clean the aluminum metal, you should apply the flux carefully along the places you opt to join using either a tiny metal tool or a rod of the solder. This will not only eliminate the chance of the oxide from further forming but also draw the iron solder along the longest side of the join.
In case the soldering wires, consider dipping them in your liquid flux instead. However, if your flux is in powder form, consult its label to be sure about the mixing instructions.
Step#4 Heating the Metal
You should use your soldering iron when heating the aluminum metal object. Heat the metal adjacent to the join, beginning at the lowest position of the workpiece. Generally, a direct flame once applied to the area of concern can overheat the flux and solder. Make sure therefore you constantly move your heat source is small and slow motions so that the area can be evenly heated.
Before applying the soldering iron, you should be aware that it can take more than ten minutes before heating up appropriately to be used.
Step#5: Applying Solder
Drag the wire or rod of iron solder over the join while you indirectly continue heating the area, i.e. heating from the other side of the aluminum metal. Use constant slow movements when applying the iron solder so that the outcomes can be even.
Confirming the Results
If the iron solder you are using doesn’t bond to the metal, it could indicate that aluminum oxide was formed on the metal surface. This will require you to clean the surface and solder it again immediately until you achieve desirable results.
Bottom Line
These tips about how to solder aluminum with soldering iron will prove beneficial if put to the test. Make sure you apply them accordingly when the need arises so that you can encounter the merits they carry.