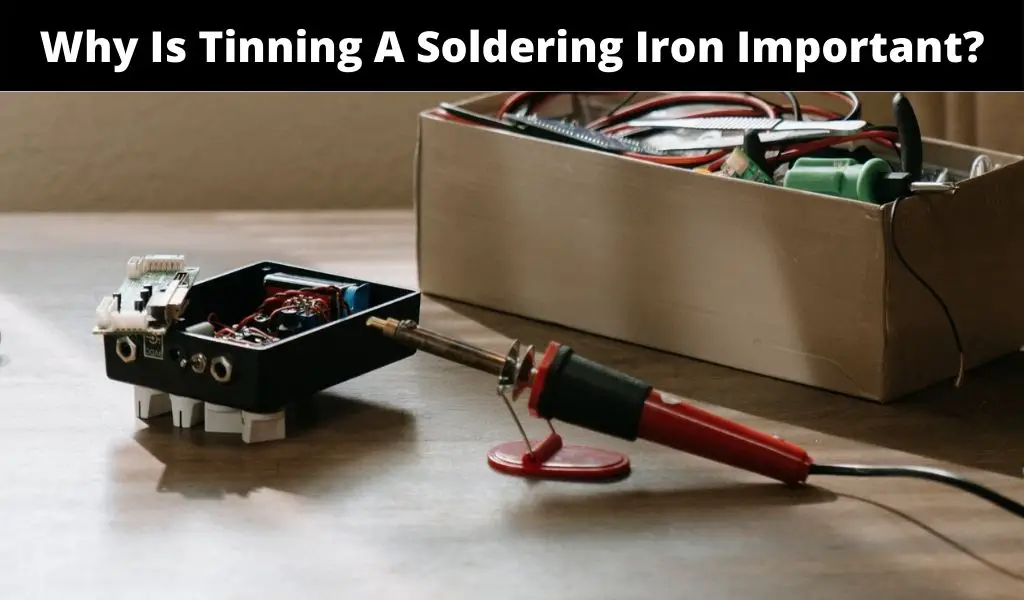
Before discussing why tinning a soldering iron is important, it’s necessary to define tinning. Tinning can be described as a process that involves covering or coating a soldering iron tip with melted tin or solder. There are some benefits as to why you should tin your soldering iron. Keep reading to learn more!
Why Tinning a Soldering Iron Is Important
Anti-corrosion Benefits:
Tinning adds a layer of protection on the soldering iron tip preventing common problems like oxidation which compromise the soldering process. In fact, tinning is recommended after every soldering session. It’s okay if you forget to tin the iron a few times, but you definitely want to get in the habit of doing it to extend the life of your soldering tip. Soldering iron tips that stay tinned throughout never corrode or suffer other common damage.
Cleanliness Benefits:
Tinning also results in a cleaner soldering iron tip. The process is part of good maintenance habits that ensure your soldering iron works perfectly and lasts for years.
Guaranteed Effectiveness:
Several factors dictate a soldering iron’s efficiency, the most notable being the tip’s effectiveness in transferring heat. By tinning and preventing oxidation, the tip offers maximum heat transfer at all times.
Easier and Better Soldering:
Tinning also makes soldering easier. The layer of solder coating the soldering iron tip increases heat transfer efficiency. If the tip is covered and clean at all times, it will conduct heat better. As a result, your iron will melt solder easily and offer better, uninterrupted flow.
How to Tin a Soldering Iron Tip?
Step 1: Gather Supplies
You’ll need eye protection when tinning your soldering iron tip. While tinning can be done without protective eyewear, the process can result in eye irritants. Some molten solder can also splash accidentally. Protective eyewear will keep you safe from such occurrences.
Other supplies include solder, a sponge, and/or steel wool. Some people may need gloves. However, it isn’t necessary if you are careful and washes your hands thoroughly after tinning.
Step 2: Cleaning
The tinning process begins with cleaning the tip. Before cleaning your soldering iron, turn it off and let the iron cool down for a few minutes. This step is critical for avoiding burns. It is not recommended to clean the tip while the iron is hot.
Cleaning should be done after you have finished soldering to avoid buildup over time. You’ll need a few supplies to start your cleaning process. The cleaning involves wiping the tip with a damp sponge. However, it should be free of Sulphur and cellulose to avoid leaving residue. Wiping eliminates any buildup and cools down the tip completely.
In some cases, a sponge won’t clean your soldering iron tip perfectly for tinning. In such an instance, you’ll need something abrasive i.e., steel wool, to remove stubborn residue, rust, or stain that may be on the tip. Steel wool is also recommended if you don’t clean your soldering iron regularly. A damp steel wool pad will get the job done perfectly, eliminating all residue, stubborn stains, and discoloration.
Important: When cleaning your soldering iron tip, avoid highly abrasive materials like sandpaper which are bound to leave permanent scratches or erode your iron tip.
Step 3: Tinning With Solder
As mentioned above, you can either tin with solder or tin. When tinning with solder (electrical-grade solder), you should follow the following steps. The process should begin with a cold soldering iron. Proceed by loading and wrapping the solder on the tip. At least 75% of the soldering iron tip should be wrapped.
The best solder for the job in regards to sizing is thin solder measuring approximately 1mm in thickness or less. The solder should also have a rosin core to keep the tip protected from corrosion without creating an acidic environment common with regular paste flux.
After “spiraling” the solder on the soldering tip, cut the end using wire cutters and power your soldering iron. The solder on the tip should melt completely in 1-2 minutes after reaching the ideal temperature. While the solder is melting and falling off, it will simultaneously coat the soldering tip.
Finish the process by wiping the tip using your sponge. The tip should be dipped in flux for an added coating. Repeat the process several times until the entire tip is perfectly coated with solder and looks clean and shiny.
Step 4: Tinning Using a Tip Tinner
Tip tinners have some tin in them, with differences that are hardly noticeable between different brands. Tip tinners are generally made of powdered solder, a cleaning agent (such as sal ammoniac), and flux.
To start tinning your soldering iron with a tip tinner, secure it using heavy-duty foam tape. You should use a heat-proof working surface for obvious reasons i.e., to avoid getting burnt when you hold the tip tinner using your hands.
Start the process by loading your tip tinner into your iron tip. This should be done once your soldering iron is hot. Proceed by rubbing the soldering tip firmly against the tip tinner. The goal is to ensure it covers most, if not all, of the tip. To get the best outcome, some force is also required. The tip should have a liquid silvery look when you are done.
Finish off by wiping the tip tinner of the tip using some steel wool. Cover the tip again and wipe it off. The tip tinner should melt and work on all spots. You should revisit any spot and repeat the process again until the tip is neatly covered. Once your soldering iron tip is tinned properly, you can store it and it will be ready for your next soldering project.
Soldering Tip Maintenance
Tinning a soldering iron should go hand-in-hand with good maintenance habits. A soldering iron that is properly maintained is bound to last longer. Cleaning your soldering iron tip regularly with some steel wool and using a cleaning agent is recommendable to avoid oxidation and impurities.
It’s also good practice to wipe your soldering tip after every soldering process to remove any residue. This should be done using steel wool to get rid of residue like soot. Furthermore, the tip should be coated with solder before you turn off your soldering iron and store it. This maintenance tip will prevent oxidation when the tip is in storage.
When soldering, it helps to keep the soldering temperature high and constant to ensure the solder melts and flows fast. However, since heat and repeated use will degrade your tip over time, you should only power your soldering iron when it’s in use or just about to be used.
It also helps to store your soldering iron properly in a moisture-free area to prevent rusting, among other damage. Tinning coupled with proper maintenance and storage will ensure your soldering iron tip lasts for many uses.
Conclusion
Tinning is critical for several reasons, the most notable being safeguarding the soldering iron tip from corrosion and guaranteeing effectiveness. Tinning also enhances cleanliness and makes it easier and faster to solder.
The process of tinning is simple and dependent on the preferred method. Generally, you can either tin with solder or tin with a tip tinner. Both processes are similar in outcome and effectiveness. Ideally, you should have a smooth, shiny, and clean tip in the end that protects from oxidation and other elements that commonly affect soldering tips in storage or between users.
While tinning is important, proper soldering maintenance shouldn’t be ignored. In fact, tinning should be done alongside proper maintenance like regular cleaning to guarantee the best result.
Other considerations should also be made alongside tinning and proper maintenance. For instance, you should use high-quality solder as such solder is free of impurities that build up on soldering iron tips, causing many problems like poor heat transfer. While cheap solder is affordable, you might spend more in the long term since you’ll be replacing tips more often.
FAQs about Tinning a Soldering Iron
How Often Should I Tin my Soldering Iron Tip?
You should tin your tip after every soldering session.
What Type of Solder Should I Use?
As mentioned above, the solder should be high-quality and free of impurities that can result in residue. The percentage of tin in the solder also matters. Besides quality, a 50/50 or 60/40 solder is perfect. This means that the solder contains 50% or 60% tin, respectively.
Should I Tin My New Soldering Iron?
When you receive a new tip, you do not need to tin it right away. The tips should just be placed in a dry area to avoid rust and other damage.