You need to stop water flow first to solder a pipe. Ideally, the joint should contain little to no water to ensure the heat remains high enough to melt the solder and create a strong joint.
However, there’s more to soldering pipes that contain water. For a detailed answer, here’s a DIY guide to follow.
Basics of Soldering in Plumbing Applications
When it comes to soldering pipes that may contain water, you are most probably referring to soldering typical metal plumbing pipes that are usually made of copper. In this case, soldering can form a strong joint between copper pipes. In fact, soldering is a common method for repairing copper pipes that tend to leak due to chemical erosion.
Luckily, soldering copper pipes is simple if you have the right information. Below we is a detailed guide on what you should know, from the materials and equipment needed to the step-by-step soldering process.
Important: Ensure you have the necessary permits, if needed beforehand. Some jurisdictions may require plumbing to be done by licensed plumbers.
Pipe Sizing & Type
It’s also advisable to understand the basics. For instance, you must understand pipe fitting. Most plumbing pipes are 3/4 to 3/8 inches in diameter. Main water lines can be as big as one inch wide. Copper pipes also vary in thickness and strength (rigid to soft). Other factors to consider include the sleeve and other fittings. Ensure you get the right size, type, and fittings before you begin.
How to Solder a Pipe with Water in It ( Step by Step Guide )
Step 1: Collect the Necessary Materials and Tools
You’ll need a number of materials and tools that can be found in your local plumbing store. The materials include, but aren’t limited to; a copper pipe/s and fittings, a heat resistant pad, plumber’s flux, plumbers sand cloth, copper pipe brush, plumbing solder, and a blow torch.
When buying plumbing solder, make sure it is lead-free solder. What’s more, since solder is sold in ounces on a spool, you can estimate how much you need or ask your local store attendant for some guidance based on your project.
You need a pipe brush to clean your copper pipe and fittings before soldering. Impurities/dirt can compromise the strength of your final joint. A sand cloth can be used instead of a pipe brush.
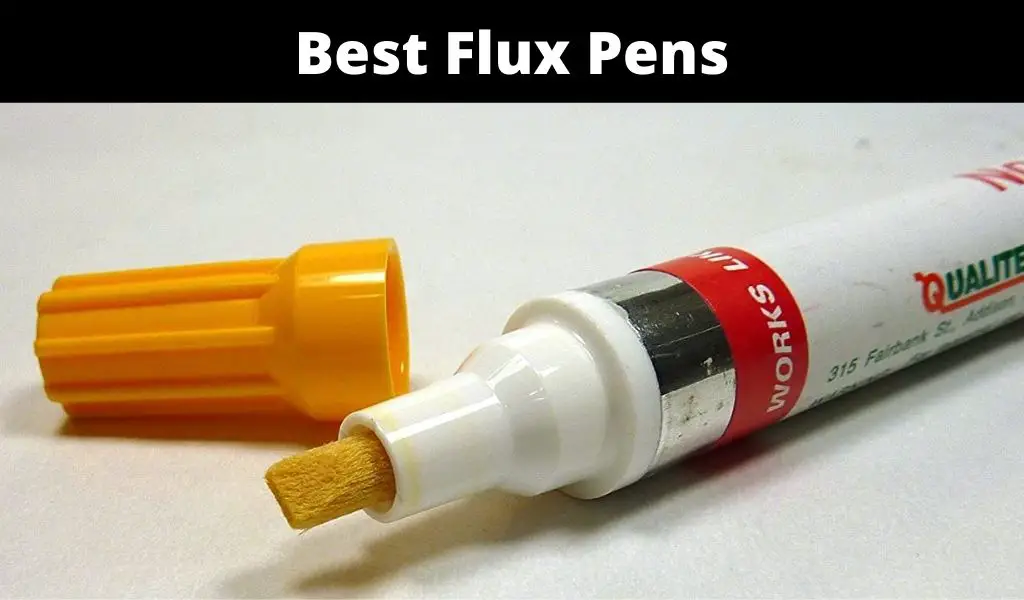
A plumber’s flux is used for coating your pipes and fittings before soldering, while a heat resistant pad is for protecting neighboring items such as walls and surfaces from being burnt by heat from the blowtorch.
Step 2: Prepare
Before the actual soldering, you need to prepare your plumbing environment. Whether you are soldering a pipe that’s part of your home’s plumbing or not, you must take this step seriously. It’s recommendable to protect the work area. For instance, you need to cover/protect areas where your blow torch can burn. A heat-resistant pad will come in handy.
Other preparation steps to make include turning off water mains to slow down or completely eliminate water flow. As mentioned above, you shouldn’t solder a pipe with flowing water in it. You should turn off mains and open valves to drain the water completely. This step may also involve opening a pipe in your home’s top floor to remove vacuum pressure.
What’s more, to avoid damaging plastic piping that may be near your copper piping, disconnect such piping. This step applies mostly to newer homes that may have both copper and PVC pipes. Blowtorches burn at very high temperatures. The heat they emit can burn adjacent areas. As a result, combustible materials and anything else that can be damaged by heat should be protected or kept out of sight.
The preparation step also includes ensuring there is adequate ventilation. Remember to open windows and doors to ensure there is adequate circulation of air. A fan can also help to boost ventilation.
You also need to have a comfortable working area and an ideal sequence of events before starting. For instance, it is advisable to make as many soldered joints as possible out of a plumbing line. This applies when you are soldering more than one area in a pipe.
Lastly, remember to use water plugs if necessary. In some cases, turning the main water line won’t stop water from flowing. Water plugs stop water from reaching your joint as you solder.
For DIY soldering applications, you can use anything from wax capsules to bread as water plugs. However, ensure you don’t clog your pipe valves, aerators, and other parts. Artificial water plugs are the best since they can easily be removed or flushed out after soldering.
Step 3: Clean Your Copper Pipes
Before the actual soldering, you should also clean your pipes. A copper pipe brush will be handy at this instance. The brush is designed to clean inside and outside to free dirt and create a clean, shiny appearance.
This step can also be used to inspect piping and fittings for imperfections i.e., pieces of metal that can prevent easy joining. After cleaning your pipes, you can do a test fitting just to see if your pipes snug together easily. If not, you need to clean further using your brush or sand cloth.
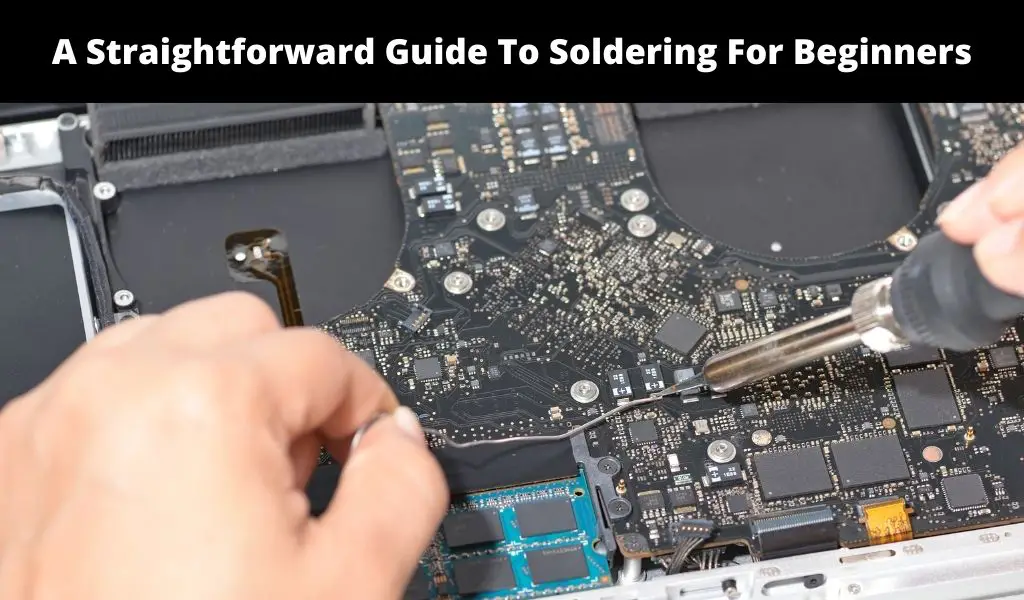
Step 4: Soldering
After cleaning and dry fitting the pipes successfully, you can begin the DIY soldering. Start by separating the pipes and applying the plumber’s flux on the pipe’s exterior and inside of your pipe fitting. Plumbing flux evaporates during soldering. It also draws the solder towards the joining, forming a tighter seal around the joint.
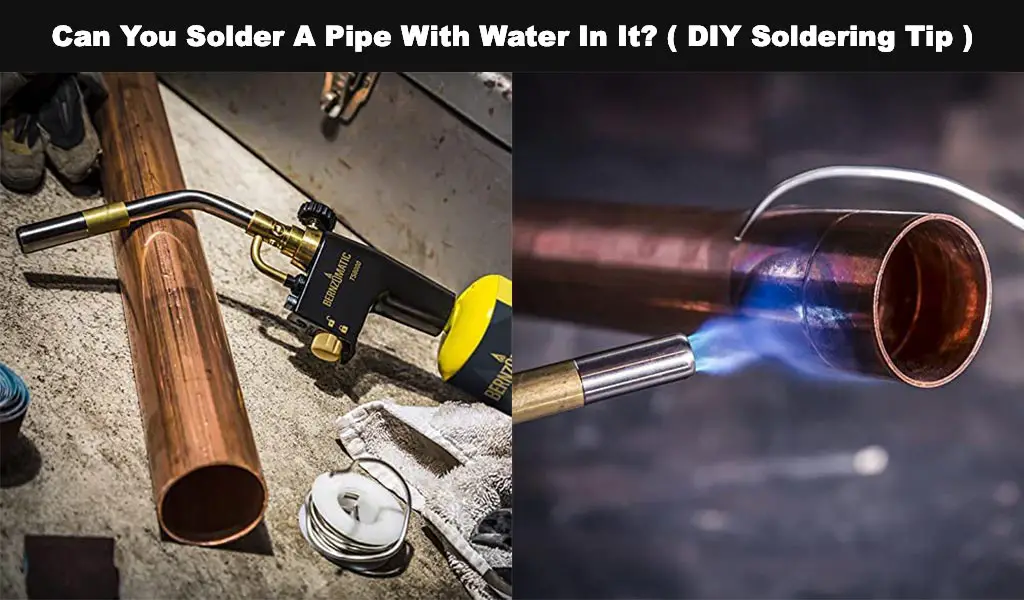
To start soldering, light your blow torch and set the flame to a medium setting. You should also hold the torch properly, pointing it directly to the joint. Heat the joint momentarily for 20 to 60 seconds.
When soldering a valve, open it first to avoid damaging it. You can test for hotness by initiating contact between the solder and the pipe. If the joint is adequately hot, the solder should melt immediately and flow into the joint.
Work your solder around the joint at this point and stop when the solder pools outside your joint area. Turn your blow torch off and give the pipe time to cool. You can wipe excess flux using a damp rag to avoid corrosion which can aid the formation of pinhole leaks in the future.
Step 5: Test Your Joint for Strength and Leaks
If you follow the above instructions to the letter, you should have a strong soldered joint. Step 5 is about testing the strength of the joint, which is done by applying some slight pressure on the joint.
What’s more, you can remove the water plug and let the water flow to test for leaks. You should wait until the solder is cool before testing for leaks. Also, be careful when testing pressurized lines to avoid cracks due to sudden changes in temperature.
If water is leaking, you’ll need to solder again and fill voids. In such a case, add some flux and apply heat on the pipe before soldering again. Testing should be vigorous for strength and water. It should also be done when the pipes cool down. Step 5 ends with cleaning.
FAQs About Soldering a Pipe with Water in It
What is the Ideal Soldering Temperature?
The ideal temperature depends on many factors, among them being the type of metal in question. When soldering copper pipes, the ideal soldering temperature varies 750 – 800 degrees Fahrenheit. While temperatures below 450 degrees Fahrenheit can work, the soldering process is bound to be slower.
The ideal amount of heat will also be dictated by the speed at which your rod tip gets hot. This obviously applies when using a soldering rod. Normally, a 15-Watt iron rod can reach 550 degrees Fahrenheit. A 40-Watt rod can reach 800 degrees Fahrenheit.
Understanding wattage will guide you to the right temperature. The size of the copper pipe also matters. Bigger copper pipes will need more wattage and higher soldering temperature.
What Soldering Technique is the Best for joining Copper Pipes?
There are several ways to solder pipes. For instance, you can use a pencil torch. In this case, a torch with a built-in igniter will work better. However, you need a bigger heating source if you are soldering larger pipes with a diameter exceeding 0.5-inches. As a result, the technique or how you solder copper pipes depends on many factors, including size.
Generally, you should also choose a technique that won’t damage plumbing components and surrounding areas. The level of heat produced with some techniques can damage copper pipes. It’s not advisable to use techniques that produce extreme heat. Too much heat can overheat the flux, damage copper piping, and also increase fire risks.
How Long Should I Wait for the Soldered Joint to Cool Down?
The soldered joint should be left as long as possible. It’s not advisable to hurry the process since attempting to pour cold water on a hot soldered joint can cause cracks or weaken the joint. Soldered joints take a few minutes to cool down (approximately 5 minutes). However, the process can take longer for larger pipes.
How Much Flux Should I Use When Soldering?
You should apply just enough flux to cover the surface of the pipe. If you overuse RMA or Rosen Activated flux, you need to clean the excess flux off. Excess flux can crystallize and become difficult to remove. The flux can also corrode your joint.
What Water Plugs Are the Best to Use When Soldering a Water Pipe?
You can use anything from cloth to chewing gum or whatever else is capable of stopping water leakage temporarily. What’s more, water plugs should be easy to remove. A common DIY water plug used by plumbers is water. A tightly rolled piece of fresh bread can stop water leakage for a few minutes, which is enough time to finish soldering.
What is Sweating Pipes?
In plumbing, sweating pipes means soldering pipes or joints to seal new joints or repair a fault. The process is common in plumbing projects. The term originates from the fact that pipes being joined together “sweat” when they are being heated. To prevent chemical processes like copper oxidation, flux is used to “wet” the copper and make the molten solder flow better into the joint.
What Are the Main Steps in DIY soldering?
Before you start soldering, collect all the materials and tools you need. The second step involves preparing your environment i.e., turning water mains off, ensuring there is adequate ventilation, and covering areas susceptible to heat damage.
Step three is about cleaning the pipes to eliminate dirt that can compromise the strength of the soldered joint. Step four is where the actual soldering happens. The last step is about inspecting the soldered joint for strength and leakage before cleaning.
What Type of Solder Should I Use?
Most countries subject to RoHS guidelines must use lead-free solder. Using leaded solder can result in serious health and legal consequences.
Why is Lead-Free Solder Better?
Lead-free solder is recommendable because it doesn’t contain lead – a proven toxin. When used to solder plumbing, lead can find its way into the human body and cause many health problems.
For instance, lead is known to cause weakness, kidney damage, brain damage, anemia, and death in severe cases. Lead poisoning is particularly dangerous among infants. Lead can pass through the placenta and affect unborn children. The metal is best known to damage the nervous system of unborn children.
Lead-free solder won’t poison you or harm the environment. However, it may not form stronger joints like leaded solder. What’s more, the solder isn’t as durable. For this reason, it shouldn’t be stored for future use as the quality deteriorates with time.
Conclusion
Can you solder a pipe with water in it? No! Water makes it impossible to reach the temperatures required to melt the solder and form a strong bond. You must get rid of water first before attempting to solder a water pipe or plumbing. Luckily, you have all the information above to solder your copper plumbing pipes at home.