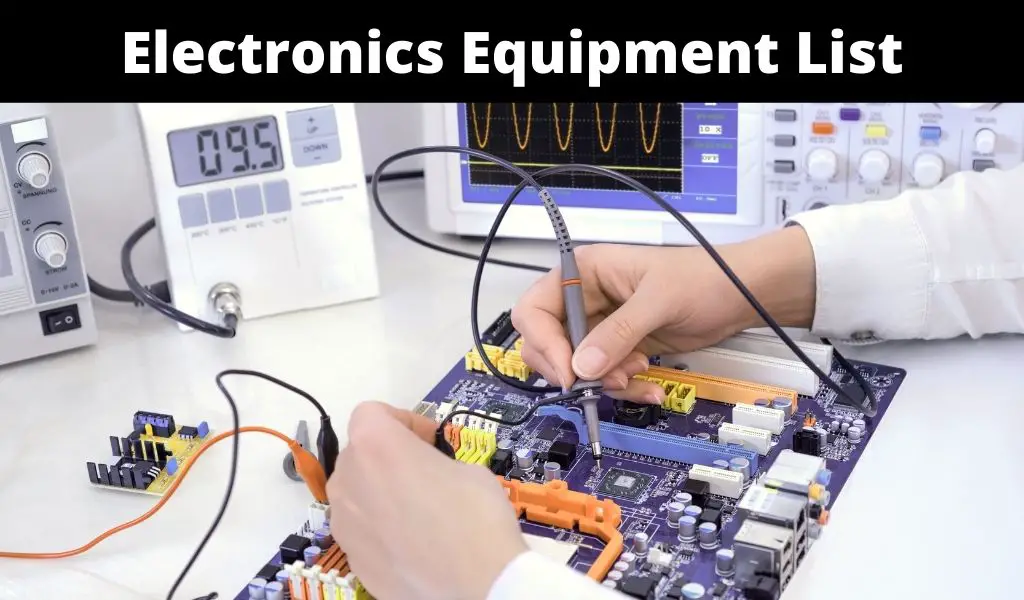
Many people show great interest in electronics, and many have turned the hobby of electronics into a way of making a living. But in order to focus on your projects, you need a good workplace. Setting up an electronics lab is not a very easy process. But if you are really interested, read these instructions so that you can make informed decisions.
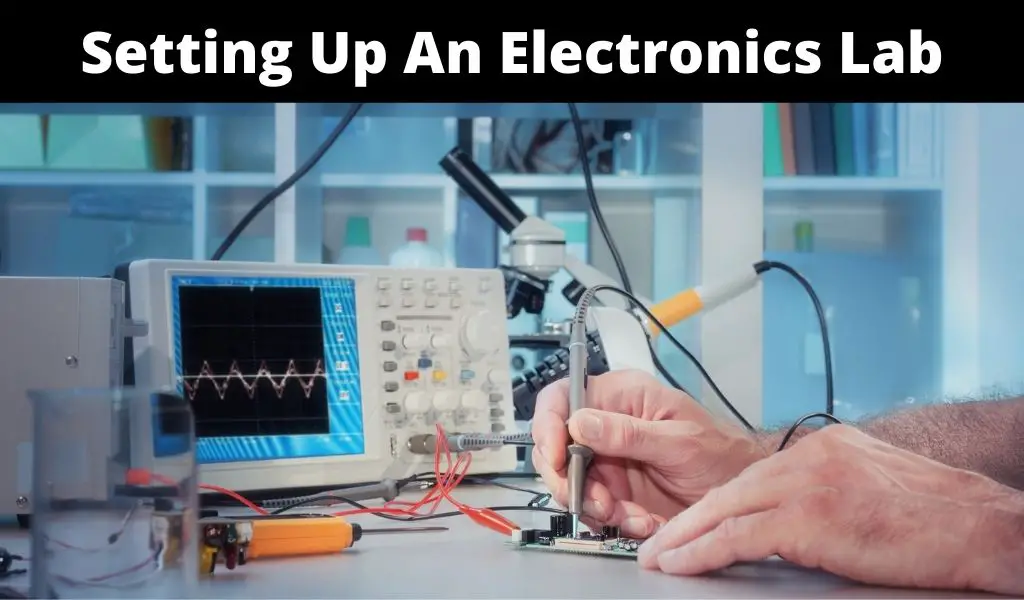
Setting Up an Electronics Lab
Step 1: Choose a comfortable place
First of all you need a comfortable place where you will not be distracted. Make sure the chair is comfortable enough, because you will have to sit and work for hours. If there are children and pets in your house, you should be aware of them. The tools and equipment should be handled carefully, and it is important not to let small children touch them at all.
Step 2: Ensure good lighting
Your workplace should be well-lighted, because sometimes you will have to work with very small components. Make sure that the light source is overhead, and it is of good quality. Good lighting will make it easier for you to observe minute details.
Good lighting is even more important if you have vision problems. But you need good lighting even if your eyes are perfectly normal. You will be able to work comfortably only when the finest details are clearly visible.
Step 3: Get a cool fan
When you work with electronics, you will be exposed to some heat sources. The power supplies, hot gun and soldering iron emit heat. That is why you need a good table fan to keep the workplace cool and calm.
A table fan can also dissipate solder fumes, keeping the place free from dangerous fumes. Blowing dust particles from the place, a table fan keeps the place clean. So the fan has indirect health benefits.
Step 4: Set up your soldering iron
When it comes to setting up an electronics lab, a soldering iron is a basic tool. If you are a hobbyist, consider purchasing a lightweight pencil soldering iron. If you get a high-quality one, it will last longer. Goot and Weller are two good brands of soldering iron.
Make sure that the soldering iron has a good stand. You may feel tempted to buy a cheap stand, but you will certainly find it unstable. Keep the device in a place where your right hand can easily reach.
We do not encourage you to buy an expensive soldering iron either, because sooner or later you will have to repair it. Just make sure that it is not too cheap. A soldering iron may not be durable simply because it is expensive.
Step 5: Get a bench voltmeter
Every electronics enthusiast understands the need for a bench voltmeter. Sometimes even expensive voltmeters are hard to mount. To solve this issue, you can take an old fluke voltmeter and use a 9V battery to power it. For two poles, use two small metal tubes.
You can set up the meter in such a way that it is powered as soon as you power up your workplace. You will get reading instantly if you just touch the component with the poles. If you are thinking of setting up an electronics lab, do not forget to buy a bench voltmeter for your lab.
Step 6: Get an electric mini drill
A mini drill is one of the most important tools in an electronic lab. If you need to drill plastic or PCB, you will need a mini drill. A drill will also be needed if you need to grind something and shape it. There are many other reasons why you need to buy this tool.
Prices vary, and you can buy a cheap or expensive one. Dremel is perhaps the most expensive brand. But cheaper models also come with drilling and grinding attachments, and you can get one. Even many professionals use cheap electric mini drills. If you are thinking of setting up an electronic lab, you can not drop it from the list of essential items.
Step 7: Get a multimeter
If you do not have a good multimeter, you can not do it without a good multimeter. So try to restrain the temptation of buying a cheap multimeter. If you invest in a good multimeter now, you will be proud of this decision later. Setting up an electronics lab can not be completed if you do not have a multimeter.
One of the most annoying things about cheap multimeters is that they show wrong readings. Even if you are thinking of working on a very simple project, you are going to need a multimeter.
Step 8: Pay attention to power supply
When you are setting up an electronic lab, getting power supply is one of the first things you will have to do. It is even better if you have multiple power supplies. Purchasing bench power supply is a great idea, but if you can not afford them, you can make your own.
If you have some time to spend, you can modify an ATX supply. There are many tutorials out there and you can use them to learn how to do it. Remember, you will rarely need more than 5 amps. So don’t worry if your power supply is not powerful enough. Whether you buy a strong or powerful one, you can not skip this tool when setting up an electronics lab.
Step 9: Get a supply closet
If you have a supply closet at hand, you will not get distracted too often. When you need something, you will not have to stand up and look for it. You will find it in front of your workplace. In your closet you can keep screws, nuts, bolts and other things.
Make sure the component closet is not too large or too small. Here is another useful advice: no matter what you need to buy, make sure you get some extra. Over time you will have a good stock of different components. Do not buy everything at once. If you do so, there is a good chance that you will never use some items.
Step 10: Buy necessary tools and components
There are some tools and components that you will need frequently. That is why you should keep these things in a box nearby. Use two small boxes if you find them convenient. Wire stripper, cutter, solder sucker, screwdriver and files are some frequently used tools.
Buying too many types of components at the same time is not a good idea. Make a list of the tools and components that you need to start working on your first project. However, you can get some extra and store them for the future.
You can keep switches, LEDs and resistors. As you work, you will gradually figure out what tools and components you use often.
Step 11: Organize
If you really want to do well, you must know how to organize the tools and equipment you need. Even if you are a hobbyist, you will need connectors, wires, test leads, heat shrink and zip ties.
If all these things are not organized, you will be constantly distracted and find it hard to focus on the task at hand. The key to setting up an electronics lab is to figure out how to organize tools and components.
Step 12: Get some adhesives
Adhesives are necessary for many types of electronic projects. If you do just some basic work, you will not need a lot of adhesives. But as you go forward, you will need more of them. Keep glue and tapes in convenient places so that you can find them easily. There are many types of tapes such as scotch tape, electrical tape and double sided tape.
Step 13: Get your vises
If you have some experience with electronic projects, you will understand the usefulness of vises when you work with vices, you know that your things are secured. If you are a bit worried no having injuries, vices will make you less worried.
It is a good idea to have two vises. Use a large vise of heavy duty grinding and cutting, and use a small one for basic soldering. Do not forget this important tool when setting up an electronics lab.
Step 14: Get some magnifying glass
For some of your projects, you will need to use tiny things. Magnifying glasses can help you see them properly. But you do not need to use fancy, expensive glass. There are many cheaper options. If you are thinking of setting up an electronics lab, do not forget this necessary item.
Step 15: Set up a music system
Sometimes you will need some mental relaxation and refreshment. No matter whether you are a music lover or not, you should set up a music system. Music will help you fight boredom. When things get boring, play a relaxing song. Music can even help you focus more.
Other things to consider when setting up an Electronics Lab
When setting up an electronic lab, you can use a large table, desk or workbench. For this purpose, you can also use a desk designed for computer use. These desks are inexpensive. You have to make sure that electrical supply is always accessible to you. Make sure that the table is made of wood.
Do not use a metal surface desk, because if you do, you will have to deal with unexpected things such as short circuits and shock hazards. You should also avoid plastic and vinyl bench surfaces, because they can generate static-electric charges. This charge may lead to the damage of your electronic components.
If your workplace is in a room where natural light is not available, get a desk lamp. Now there are different types of desk lamps that come with magnifying glass. If necessary, you can even replace the lamp bulb. Setting up an electronics lab will be incomplete if you do not have a desk lamp.
It is true that you will need a lot of tools and components as you go forward. But you will probably end up wasting a lot of components if you make the mistake of purchasing everything at once. When you buy something, buy more than what you need and store them for the future. Within a short time you will have a good stock of useful components.
The layout of the lab should be correct because you will have to work with numerous different types of tools and electronic components in your lab. If you still do not have any lab layout, you can receive help from those who are experienced.
You will have some good ideas by simply looking at other people’s layouts. For inspiration, you can watch some videos online. Tutorials will make setting up an electronics lab easier for you.
When you start your electronics lab, you will have to do a lot of things. It is natural to feel a bit overwhelmed, but if you have a strategic approach you will get things done within a short time. We hope this post will help you set up a wonderful lab.