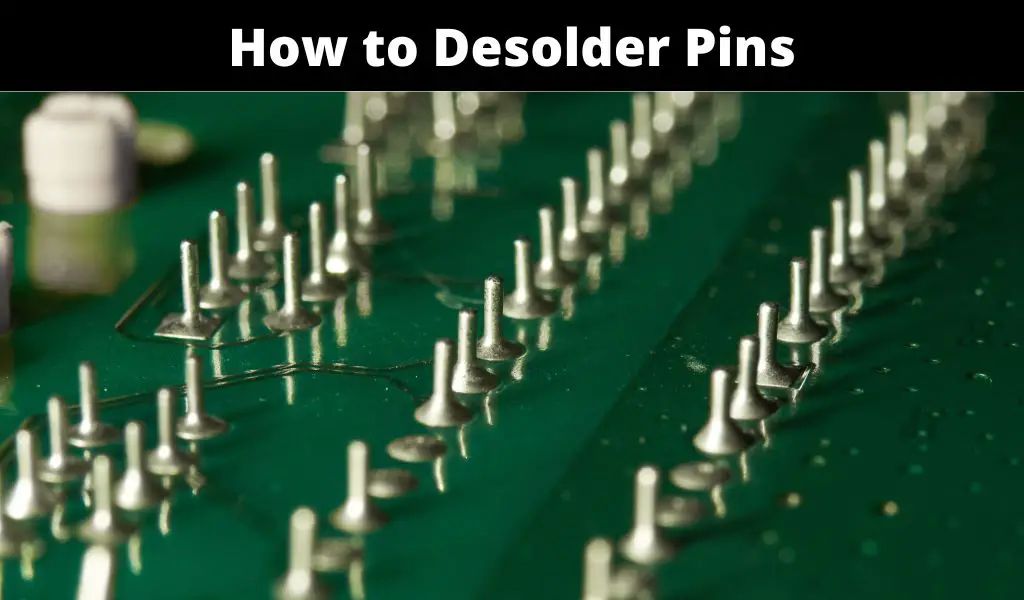
Desoldering pins can be a daunting task for beginners, but with the right tools and techniques, it can be a simple process. Whether you need to replace a faulty component on a circuit board or salvage parts from an old device, knowing how to desolder pins can save you time and money. In this blog post, we will explore the step-by-step process of desoldering pins, including the necessary tools and safety precautions to take. By the end of this guide, you will have the knowledge and confidence to desolder pins like a pro.
How To Desolder Pins Using a Desoldering Pump
Step 1: Preparation
First, ensure that you have all the necessary tools for desoldering. This includes a desoldering pump, a soldering iron, flux, and a pair of pliers or tweezers. If you need any of these items, be sure to read our article on the best soldering irons or our article on tools for your electronics lab! Also, make sure that the circuit board is unplugged and that all components are cool to the touch. Once you have your tools, turn on your soldering iron and wait until it reaches your desired temperature. While you’re waiting, apply a nice bead of flux on the pins that you want to desolder. Once your iron is hot, clean the tip with a damp sponge or tip cleaner.
Step 2: Heat Your Soldering Iron and Make Contact with the Soldered Pin
After cleaning your soldering iron tip, proceed and heat the old solder. The tip of the iron should make contact with the old solder continuously to melt it. You can add a small amount of new solder to the old solder initially to have a sizable amount of molten solder to suck out. It can also help melt the old solder quicker. While holding the soldering iron in place, position the desoldering pump nozzle over the molten solder.
Step 3: Suck the Molten Solder Out
The tip of your desoldering pump should be in contact with the molten solder without applying too much pressure. Activate the desoldering pump by pressing the button which will create a suction that will draw the molten solder into the pump. You may need to do this multiple times to remove all of the solder from the joints.
Step 4: Repeat to Desolder All Pins
The above steps summarize the basics of how to desolder pins. You should repeat them until you have desoldered all pins of the component. If you have some difficulty, try applying more flux, then reheat the joint and activate the desolder pump.
Once all of the pins are desolder, there may be a little solder leftover which would prevent you from removing the component. Try using a pair of tweezers of pliers to gently wiggle the component off the circuit board. Do not apply too much force or you will risk taking the surface-mount pad off completely since it becomes fragile when heat is applied.
Step 5: Clean Your Circuit Board
Finish by cleaning your board using a clean cloth/soft brush and some isopropyl alcohol. A resin cleaner can be used to remove resin on the solder pad, if any.
How to Desolder using a Solder Wick (Desoldering Braid)
You can also use solder wick instead of a desoldering pump. The braid or wick works by absorbing the molten solder from the pins and on the circuit board. To use the solder wick more effectively, apply a small amount of flux to the wick. This will draw the solder to the wick more efficiently.
Furthermore, don’t be afraid the cut off the piece of wick that already has solder on it. If you don’t, it will make it more difficult to keep wicking up solder. Personally, I prefer using solder wick over the desoldering pump, but I have both just in case the wick can’t get into the small crevices.