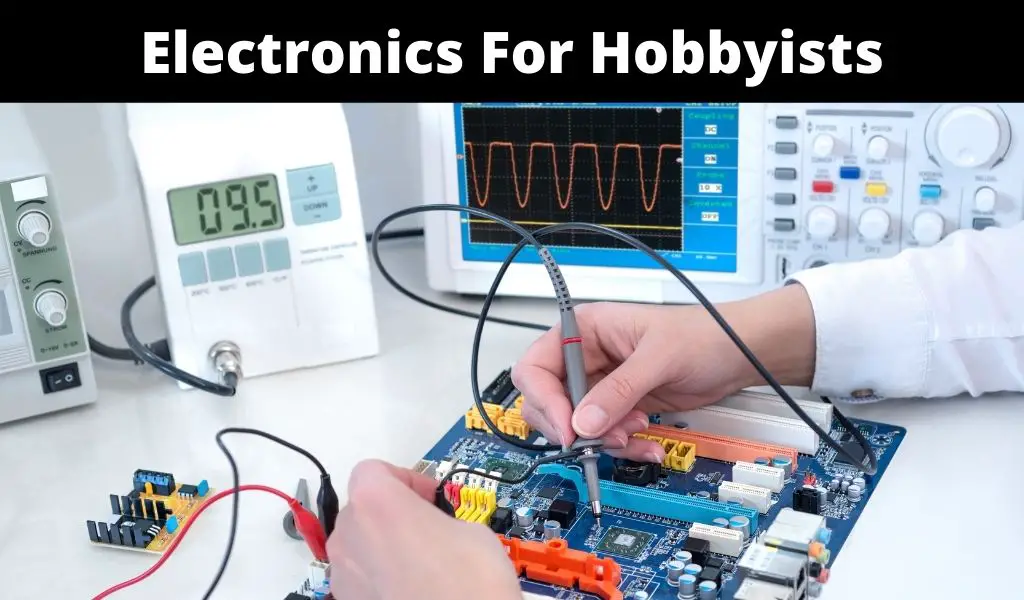
Electronics hobbyists often find themselves with the desire to build their own prototypes and devices. However, without the right tools and equipment, even the simplest electronic project can quickly become frustrating and overwhelming, or worse, cause you to never want to build or think about electronics again.
Whether you’re a beginner or an experienced builder, having access to the proper tools is essential to building functional electronics. In this blog post, we’ll explore the essential tools and equipment you’ll need to get started with building your own electronics, as well as some tips for choosing the best ones for your needs. So if you’re ready to dive into the world of electronics and start building your own projects, read on!
1) Multimeter
A multimeter is a versatile electronic tool that provides numerous benefits to its users. One of the most significant benefits of a multimeter is its ability to measure various electrical quantities such as voltage, current, resistance, and continuity. This makes it an essential tool for electricians, technicians, and DIY enthusiasts who need to troubleshoot electrical problems or perform routine maintenance tasks.
A multimeter can also help users identify faulty components, detect short circuits, and verify the proper functioning of electrical systems. Additionally, modern multimeters often come with advanced features such as data logging, temperature measurement, and capacitance testing, further increasing their utility. Overall, a multimeter is a valuable investment for anyone who works with electrical systems, providing accurate measurements and saving time and effort in diagnosing and repairing electrical problems.
2) Oscilloscope
An oscilloscope is a powerful tool used to measure and analyze electrical signals. It provides a visual representation of the waveform of an electrical signal, allowing engineers and technicians to quickly and accurately diagnose and troubleshoot problems in electronic circuits. The benefits of using an oscilloscope are numerous, including the ability to measure voltage, current, and frequency with great precision. Oscilloscopes are also used to capture and analyze complex waveforms, making them an essential tool for anyone working with digital electronics or high-speed data transmission.
3) Hot Glue Gun
Overall, a hot glue gun can be a valuable tool when building electronics and small mechanical assemblies. It can help to speed up the assembly process, provide strong adhesion, and create flexible connections between components, making it a versatile and useful tool to have on hand.
4) Wire Cutters
As the name suggests, wire cutters are primarily used for cutting wires. In electronics, wires are often used to connect different components together. They make it easy to cut wires to the required length and strip the insulation to connect to other components or a circuit board.
They can also be used to trim the leads (or legs) of components such as integrated circuits (ICs), resistors, capacitors, and diodes. This ensures that the leads are the correct length for insertion into a circuit board or for soldering.
5) 3D printer
3D printers have become ubiquitous in the electronics lab due to their decreased cost of entry over the years. They can provide a range of benefits such as being able to design and print almost any part, their cost-effectiveness and speed over traditional manufacturing benefits, wide variety of materials, and user friendliness. I purchased my first printer back in 2014 and many things had to be done manually. Now, everything can be done at the touch of a button!
6- Pliers
Pliers are a common tool used in building electronics because they are useful for manipulating small parts and wires that are often difficult to handle with fingers alone. There are many different pliers available that can do specific things, so you might need a couple of them! There are some that have a cutting edge which can be used to cleanly cut wires to the desired length. Some have a wire-stripping notch that can be used to remove insulation from the ends of wires, allowing them to be connected to other components. Most of them can be used to bend wires into specific shapes, such as making a wire loop or forming a hook. And finally, some are used to crimp connectors onto wires to create a secure connection.
7) Benchtop Power Supply
Similar to the 3D printer, benchtop power supplies have also decreased in price over the years. These are great to have in your lab since all electronics need to be powered. There are many options available, but I personally like the ones that allow you to adjust the voltage and current and ones that have multiple outputs. A 30V/10A DC power supply with two independently-controlled, isolated outputs should get you through most of your applications.
8) Screwdriver Set
Screwdrivers are essential for electronics since many components have small screws, so precision screwdrivers will be necessary for assembling and disassembling your projects. These are one of the most inexpensive items on this list, so it’s easy to get different sizes and types such as Phillips, flathead, and torx. The ones that have a rotating knob on the top of the screwdriver make it easier to handle the smaller screws.
9) Breadboard
A breadboard is a useful tool for electronics hobbyists and professionals alike, but it is not always necessary. A breadboard is a prototyping board that allows you to quickly and easily test electronic circuits without the need for soldering or making a PCB. It is often used to build and test circuits, such as LED and switch circuits, operational amplifier, mosfets, voltage regulators, or simple sensors.
If you are just starting with electronics and are experimenting with simple circuits, you can use a breadboard to make the process easier. It can save you time and effort when you need to prototype a circuit and make changes quickly. However, if you are working on more complex circuits or projects that require more permanence, a breadboard may not be the best choice.
In such cases, you may want to consider building a circuit board that is specifically designed for your project. This can be done using a variety of techniques, such as etching your own circuit board or using a PCB manufacturer such as Advanced Circuits or Sunstone Circuits.
10) Soldering Iron
In electronics, this tool is used to solder components to a printed circuit board or join two pieces of wire together. These are relatively inexpensive and require very little maintenance. I’ve had my soldering iron for over 10 years and have only had to replace the tip which is expected.
There are fixed temperature and variable temperature irons which allows for precise control over the temperature of the iron. This is advantageous since solders have different melting points and some components are more sensitive to heat than others.
11) Microscope
There are some very small electronic components. Some are so small that you have to hold them with small tweezers. In such cases, a microscope can help you see the components while you’re soldering them to the circuit board or help you check for short circuits between adjacent pins. I had a short circuit on one of my circuit boards, but couldn’t find where it was with the naked eye. As soon as I put the board under a microscope, I was able to find the short fairly quickly.
12) Cabinet Organizer
Although this is not a tool per say, I would argue that it’s necessary for electronics organization in your lab to help you keep track of all those small components. If you have everything in a box, it’s very hard to find what you’re looking for. You could easily organize the cabinet to have different sections for resistors, capacitors, LEDs, and ICs. You can also keep larger items in there such as sensors, relays, connectors, switches, and motors.
13) Signal Generator
A signal generator is an electronic device used to generate electrical waveforms, such as sine waves, square waves, and triangular waves at certain amplitudes and frequencies. This is useful in design, testing, troubleshooting, and even calibration. In design, they can be used to simulate the behavior of a circuit under different conditions which can help in optimization. When testing, you can generate a signal of a known frequency and amplitude to test the response of circuits like amplifiers and filters. If you’re troubleshooting, you can inject a signal at different points in your circuit so that the source of the problem can be identified.