Soldering is an effective material joining method. Many materials (especially metals) can be joined together through soldering. Our focus here is on Brass. Can you solder Brass and can you do so using a standard iron?
YES! You can solder Brass. However, there are factors to consider to ensure you solder brass properly. Below is everything you need to know on soldering Brass and related important information.
How To Solder Brass Effectively
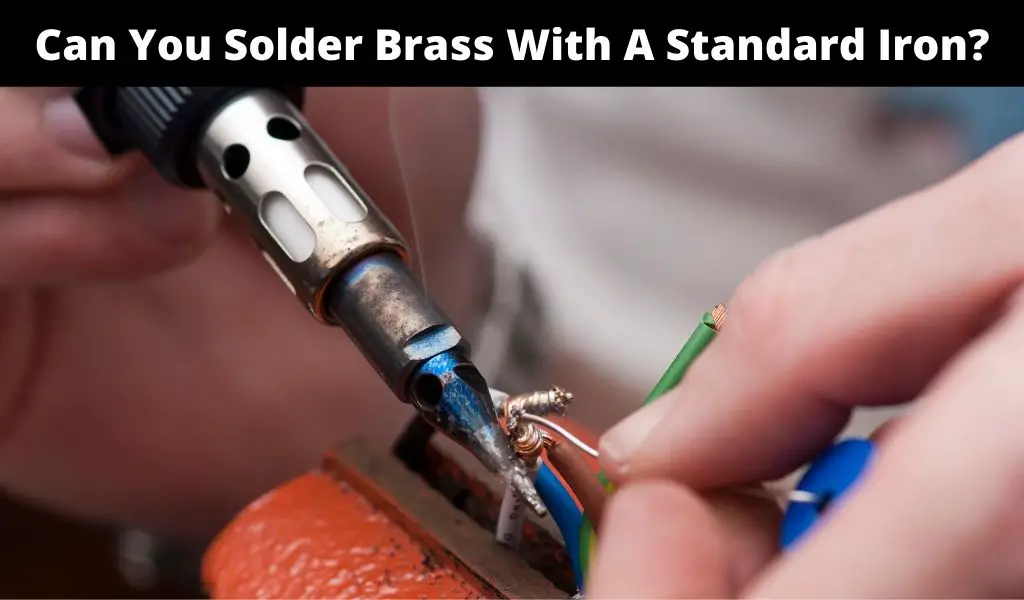
Can you solder Brass with a standard iron? Yes! However, you won’t do it effectively if you don’t have the right information. The question of whether you can solder Brass with a standard iron is covered below alongside a step-by-step guide into soldering Brass.
Guide to Soldering Brass
STEP 1: Understand Your Metals
Soldering is a method popularly used to join metals together. However, soldering isn’t effective for all kinds of metals. The method is best suited for low heat metals with a low melting point. Understanding this factor is important for ensuring you don’t melt or deform the metal. To get the best outcome, you need to provide the perfect amount of heat needed. Understanding your metal will also help when choosing the right solder and flux for your project.
Brass is an alloy (made up of more than one metal – mainly copper and zinc). Brass can also contain other metals like arsenic and lead. There are many types of Brass. However, our main focus will be on brass alloys commonly used to make pipes, jewelry, automotive parts, and related applications. These types of brass fall under the C360, C330 and C260 types of brass alloys.
C360 brass (also referred to as free cutting brass) is common in the manufacture of machine fittings and pipes. This type is the easiest to solder given its high lead percentage.
C330 brass (low lead brass) is common in making tubes and other water-related applications. It’s low lead percentage, and corrosion resistance stand out. However, its more challenging to solder C330 brass.
C260 brass is common in jewelry applications. This type of Brass (also referred to as cartridge brass) is common in decorative applications. It has a high copper and zinc composition making it malleable and strong at the same time. This Brass is lead-free.
STEP 2: Get the Right Tools & Materials
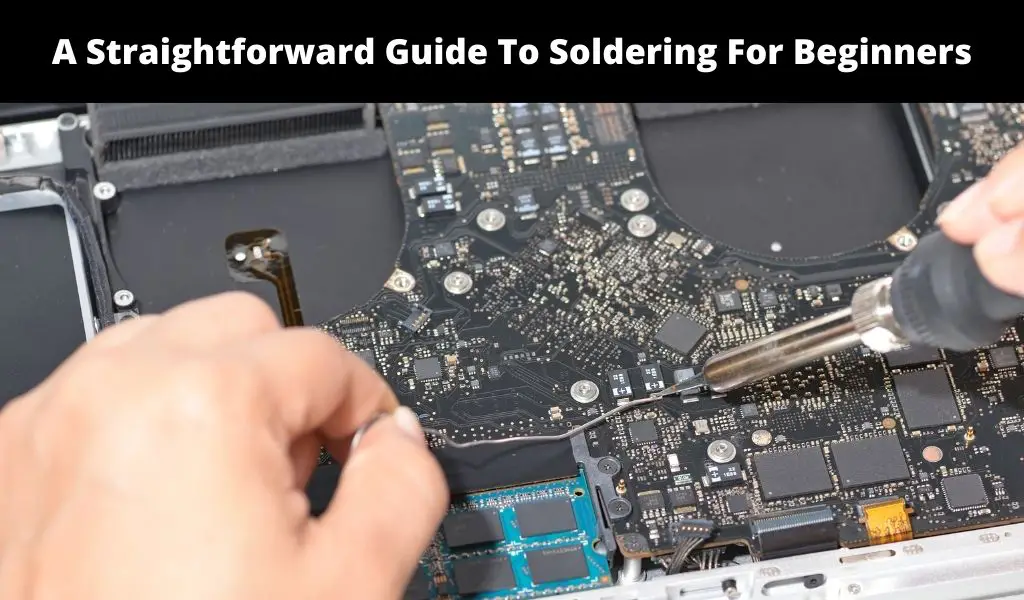
You’ll need to heat the Brass before soldering, so a standard iron isn’t the most ideal source of heat. While a standard iron can get the job done on typical small-scale soldering applications involving Brass, there are better sources of heat to consider. Nevertheless, there are special soldering irons for Brass.
STEP 3: Cleaning Brass
Before soldering, you must inspect your metal pieces. Before cleaning, it’s also important to ensure the parts fit perfectly (as close together as possible). When soldered, a tighter fit is always better and bound to create a stronger joint. Solder basically acts as glue, so the components being joined together should be made in a way that they fit into each other.
Generally, there should be no large gaps. What’s more, the parts must be clean as impurities weaken the quality of the joint. It’s important to remove dirt and other impurities like debris, oil, or metal burs.
The project size should dictate the extent of cleaning. However, thorough cleaning is needed and is possible using various tools. For instance, metals burrs can be filed down. Sanding is also a notable metal cleaning method. You can use sandpaper and wrap your piece of metal tightly around.
STEP 4: Soldering Brass
Once your Brass is clean, you can begin soldering. Start by setting up your workspace. This should involve covering the work area using a welding blanket to protect your countertop. Since you’ll need to heat your pieces, a torch is better than a standard soldering iron. You can solder Brass with an iron or torch. However, a butane, acetylene, or oxygen torch is better.
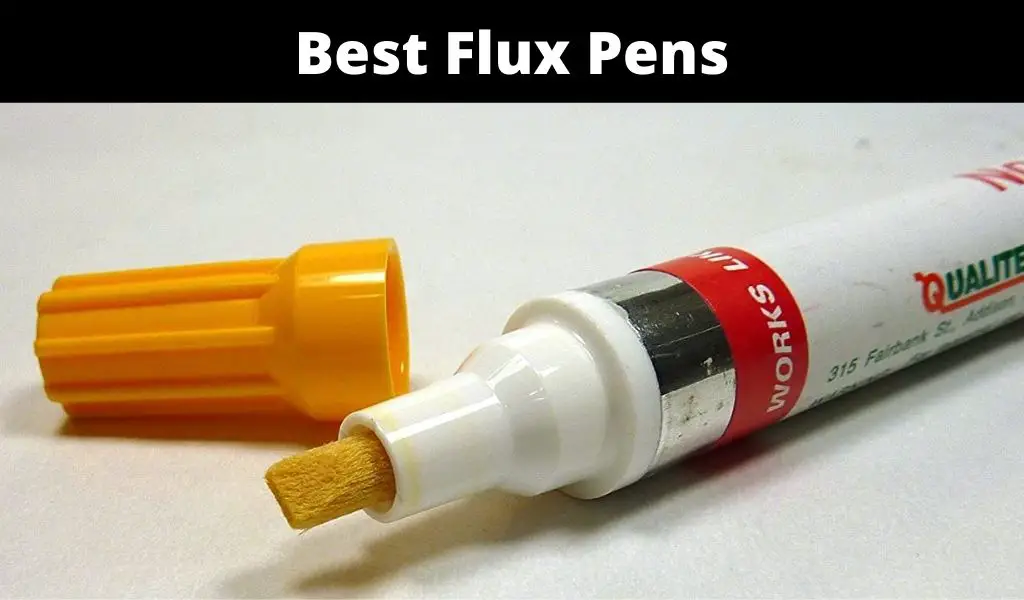
When setting up, you can use bricks to hold your project pieces. You’ll also need a brush, flux, and solder ready. The soldering process should start by applying flux to clean your brass pieces. Flux also works like glue and holds the pieces being soldered firmly together. You should use brass soldering flux (tin-based flux).
When applying the flux, use a paintbrush to spread the flux evenly over your cleaned brass pieces. Proceed and place the pieces as you would like them to be when joined, and heat them with your torch.
Proceed and prepare your solder. To get a perfect joint, use solder that works perfectly with Brass (grade-easy silver solder). Lead solder doesn’t work well with Brass. Besides, lead poses some risks. The preparation stage should also involve cutting the pieces you need for your joint. You should use just enough solder. Too much solder can fill up your pieces and reduce flow.
When soldering jewelry pieces together, excess solder should be sanded off. Any excess solder can be noticeable on your pieces when complete compromising the outcome of your project.
Once your workspace is done, and your solder is ready, you can turn on your torch. When soldering Brass or any other metals, you’ll need to protect your eyes. Also, turn off your torch tip before turning on the gas. The torch tip should also be directed away from canisters or hoses when you light it.
Proceed and heat your Brass. Adjust your flame and heat the Brass evenly. Ideally, you should be using brass-colored solder to ensure the joint matches perfectly with your brass pieces.
What’s more, the flame should be directed at your project pieces. Heating should also be done using a circular motion. The hottest parts of the flame (the tip of your inner flame) should be working the pieces accordingly. All pieces should also be heated evenly.
Once the Brass is hot enough to melt solder on contact, you can begin soldering. To determine readiness, the flux should start bubbling or emitting some slight smoke. When soldering, don’t place the solder directly on the joint. Heat your brass pieces evenly again. The solder will melt instantly on contact and flow along your joint if you get this done right. The contact point should allow the molten solder to move freely and seal the joint.
Proceed by allowing your pieces to cool down before cleaning them. Your project pieces should cool down before you begin cleaning. To get the best outcome, use baking soda and water as this gets rid of leftover flux that is corrosive when left on metal surfaces for too long. Once you’ve perfected soldering Brass, soldering other metals like gold and silver is easier.
The cleaning process can involve some slight filing to remove any solder that clogs up accidentally. Also, the pieces should be left alone when cooling. Moving the pieces before they cool down completely will compromise the joint. If you follow the steps to the letter, you should have a perfect-looking and strong joint. It may also take practice to know how to solder Brass perfectly.
FAQs about soldering Brass
Can You Solder Brass?
YES! However, must adhere to certain steps to get the job done perfectly. For instance, a torch is better than a standard soldering iron because you need to heat your project pieces evenly beforehand.
You also need to use brass-colored solder. The solder should also be grade-easy silver that works perfectly with Brass. Your brass pieces should also be evenly heated before you solder. Generally, Brass can be soldered, but the above process must be followed to get a perfect joint.
Do You Need Flux When Soldering Brass?
Yes! Flux has many purposes. First and foremost, it works like glue and holds the pieces being soldered firmly together. Flux also cleans the pieces and prevents oxidation of brass pieces being soldered together. Oxidized metals can’t be soldered properly. Flux also helps solder to flow better and join the pieces together.
When soldering Brass, you should use specific flux made for soldering copper and Brass. The flux is usually available in paste or liquid form. While both work well, the paste is better for performing applications like joining the workpieces together. Flux is easily available in hardware stores. You can get flux specifically made for soldering Brass locally.
While the role of flux can’t be overlooked, it should be removed after soldering to avoid corrosion. The flux can be removed using sandpaper or any suitable polishing agent. Baking soda can neutralize excess flux and prevent corrosion.
Can You Solder Brass without Heating the Pieces to be Heated?
NO! You won’t form a strong joint if you don’t heat your workpieces. Melting solder directly onto cold brass pieces won’t work. Both workpieces must reach solder’s melting point to allow the solder to flow and bond the pieces perfectly.