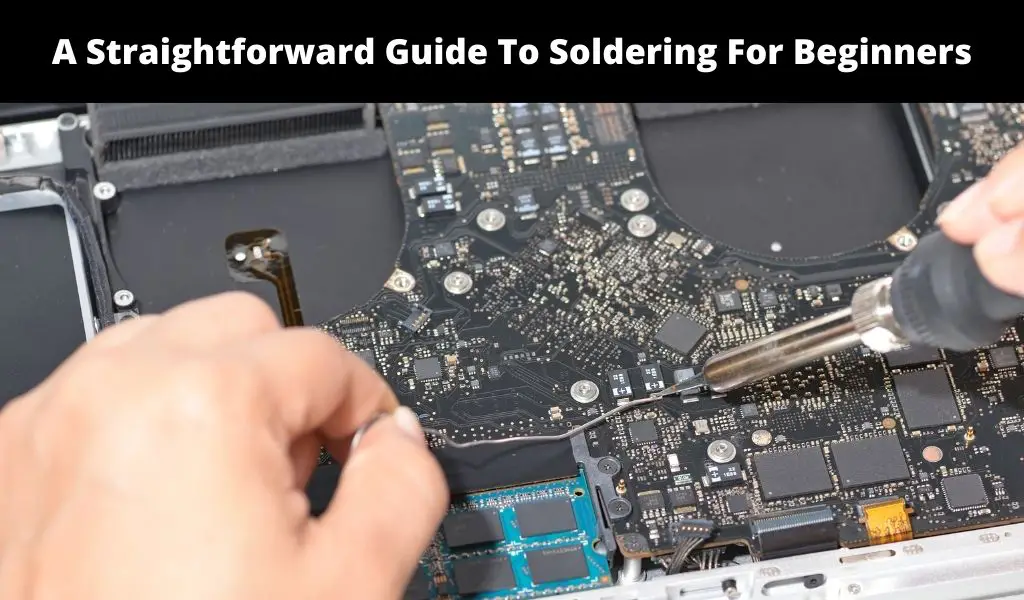
If you have ever opened an electronic device, you may have noticed several shiny joints on the circuit board. These joints connect the leads of each component to the pad or via on the circuit board to allow signals or power to flow from source to destination. A process called soldering creates these joints by heating the leads, pads, or vias with a soldering iron and melting solder which is a metal alloy usually made of a mixture of tin and lead.
As with many other skills, mastering the art of soldering takes consistent practice. While it may seem daunting at first, soldering is a simple process that anyone can learn. In this article, we will cover the basic tools and techniques required so you can confidently tackle your first soldering project.
Basic Soldering Tools
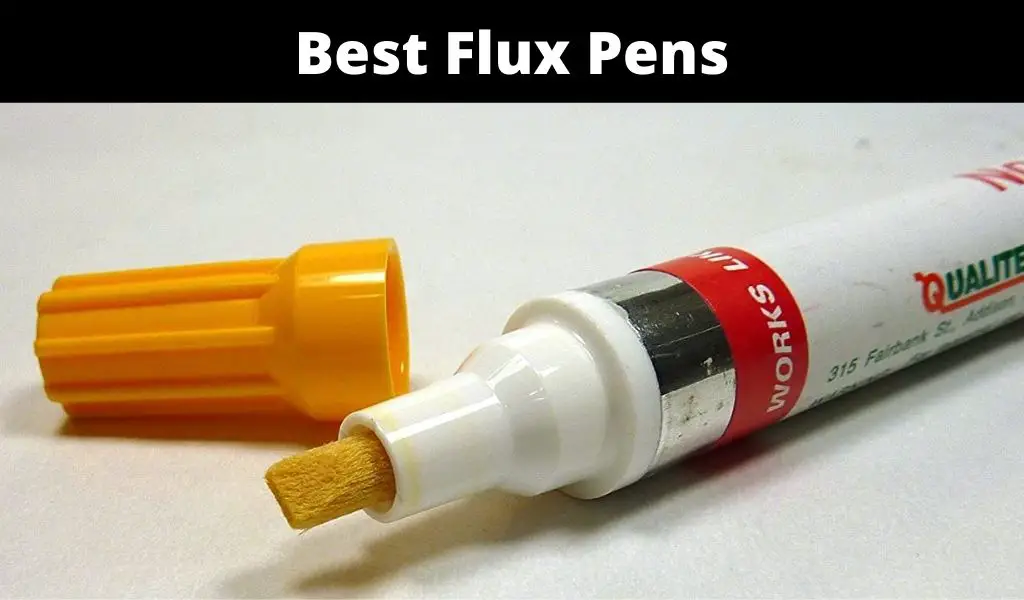
To perform a successful soldering operation, you need to have the right tools at your disposal. The basic soldering tools include a soldering iron, solder, flux, tip cleaner, and a PCB holder.
Soldering Iron
A soldering iron plugs into a 120VAC outlet and converts electrical energy into heat energy. When looking at the specs of one, you’ll typically see a power rating and a temperature rating. The power is usually in the range of 15W to 30W and the temperature range is between 200F and 850F. These two are directly proportional as power increases, so does the temperature. As a reference, when I use leaded solder, I set the temperature to around 650F.
Soldering irons usually come in three different forms: no temperature control, temperature-controlled, or a soldering station. The ones with no temperature control are the cheapest since there is very little circuitry. Temperature-controlled irons have a thermocouple to run a closed-loop on temperature. These can either run at a fixed temperature or there is a variable knob to tune the temperature. The last one is a soldering station which consists of a benchtop control unit where the soldering iron plugs into. These are the most expensive since you can adjust the temperature and offer a digital display of the temperature.
Solder
The solder is an alloy material that is melted to create a permanent joint between two electrical parts. In the past, solder was made of tin and lead at the ratio of 60:40 but contemporary health and safety rules advocate for lead-free rosin core solder. If lead solder should be used, it is crucial to ensure that the working space is well ventilated.
Some solder may contain small amounts of silver. This lowers the melting point even though it gives a stronger joint.
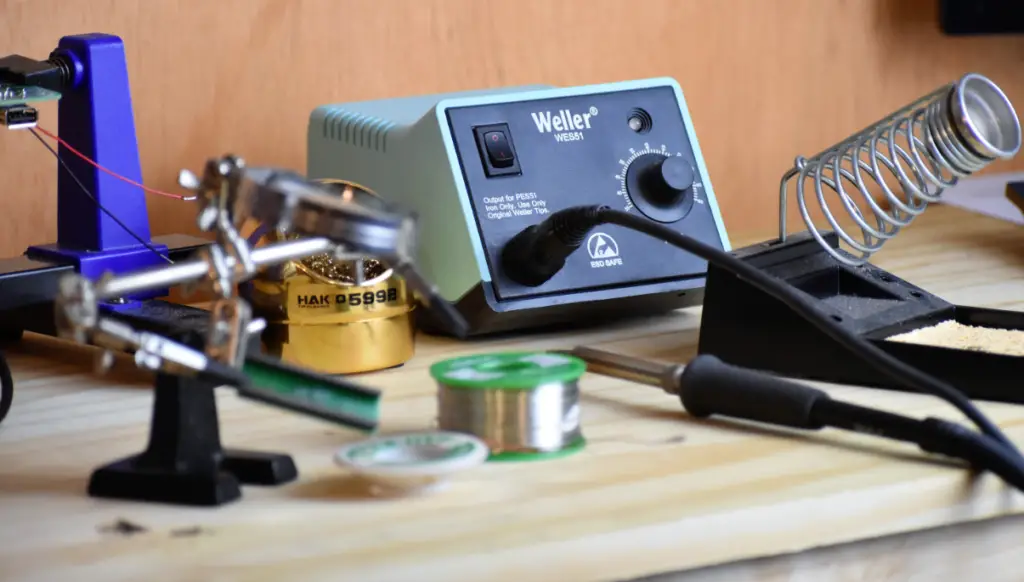
A soldering station
A soldering station is a working tool with a built-in thermometer, a soldering iron, and an external constant power supply. Apart from controlling your power supply, the soldering station has an organization function because it holds your soldering iron and the sponge for cleaning the tip of your iron.
Tip Cleaner
The soldering iron easily accumulates particles of the solder at its tip. It’s is important to keep it clean to allow proper heat transmission. A sponge on the soldering station serves in cleaning the tip of the soldering iron and keeping it working efficiently.
Avoid using a wet sponge to prevent spoiling the tip and shortening the life of the soldering iron through expansion and contraction. Besides, a damp sponge cools the iron, implying higher energy consumption.
Soldering Iron Stand
To stay safe from burns or setting objects around the soldering space ablaze, a soldering iron stand comes in handy. Using the stand shields the person soldering or other surfaces from coming into contact with the tip or the iron. The stand is often built into the soldering station.
PCB Holder
The helping hand is a tool with two alligator clips to help hold the pieces being soldered. A magnifying glass may be attached to the third hand to help the person soldering be precise when applying the solder, especially when working on minute details.
With all the above tools, the soldering job can be commenced. But doing so relies on the user’s soldering skills while performing the task.
How to Solder
If we are addressing an expert in soldering, it might be easy, to sum up the soldering process by indicating that soldering involves heating the metal and placing the solder on the heated metal to create a joint between two electronic parts.
But such a broad description may not make sense when addressing soldering for beginners. A novice in soldering may require a more broken down guideline. Here are the 3 basic steps in the soldering process.
Step #1: Set the Temperature and Apply Flux
First, you’ll want to turn the soldering iron on and adjust it to the required temperature, around 650F if you are using leaded solder. Allow about 30 seconds for the iron to get to your set temperature. As a quick test, you can touch the solder to the end of the tip to see if it melts quickly and sticks to the tip. If neither happens, you’ll need to increase the temperature or clean your tip, respectively.
Once your temperature is set, apply flux to the components you want to solder. This allows the solder to flow more efficiently. You don’t want too little or too much – this requires some practice to get the amount right.
Step #2: Tinning
Tinning is a pre-soldering step that involves the application of solder on the tips of the work parts or wire so that the solder can flow more efficiently. Tinning of the soldering iron tip may also be done at the end of a soldering job to prevent oxidation and extend its life.
Step #3: Solder the Joint
Hold the soldering iron against the joint and touch the solder to the heated metal. You don’t want to touch the solder directly to the soldering iron. Apply enough solder until it flows completely around the joint. You want the solder to melt quickly and flow well to create a nice shiny joint. If you have big splatters, smoke, the joint turns dark brown quickly, or you see your flux boiling, you are running too hot.
Once the joint is complete, allow it to cool and solidify before handling it. This will prevent the joint from cracking.
What if I Made a Bad Joint?
If you applied too much solder or noticed that the joint cracked, don’t fret. It can be removed which is often called desoldering. Desoldering is simply reversing the soldering process, and it’s a key skill when it comes to soldering for beginners. This entails:
- Placing a desoldering braid or wick on the bad joint.
- Heating the soldering iron and placing its tip on the desoldering braid to melt the solder and allow the braid to absorb it.
- Alternatively, a mechanical vacuum known as a solder sucker can be used. The sucker is placed over the joint and a button pressed to suck the molten solder.
Tips for Safe and Successful Soldering
It’s important to think about safety when you are soldering since you are dealing with high temperatures and molten metal. Here are some quick tips to help you stay safe:
- Soldering is a high-temperature task. Be cautious when applying solder on a joint and when handling the soldering iron to avoid burning yourself or starting a fire.
- Use pliers to hold parts of the soldering to avoid burning. This should still be done at least 2 minutes after the soldering has been completed since molten solder can remain hot for a couple of minutes.
- Unless you are purchasing a soldering iron for plumbing, use fine tips when buying soldering irons to work on PCBs.
- As a beginner, it is always advisable to try out and refine your soldering skills on an old board before working on a new one.
- Ensure your solder joints are smooth and shiny. If it’s dull, it needs to be redone.
- Even with the correct temperature, keeping a soldering iron on electronic components can be destructive. Master the appropriate speed when soldering. The high-temperature soldering iron cannot rest on an electronic part for more than a few seconds without damaging the component.
- Work in a well-ventilated room when soldering, especially when using leaded solder. This protects you from inhaling toxic fumes given off when melting solder. Use safety equipment such as masks or a carbon filter.
- Always tin your wires to ensure better and long-lasting results. Working on clean surfaces is also a key condition for smooth cone-shaped soldering.
- Your soldering iron should always be clean. Clean the tip of the iron consistently to avoid solder buildup and, hence, poor heat transfer.
- When purchasing solder, be sure to buy the type that has a rosin core and never one with an acid core for soldering on electronics. Rosin enhances electrical contact. Solder with an acid core is used in plumbing.
- Tin the soldering iron after soldering is complete. This prevents oxidation and extends the life of the tip.
It’s Never to Late to Get Started with Soldering for Beginners
Soldering is a valuable skill that can be used in a wide range of applications, from electronics and jewelry making to plumbing and automotive repair. By following the steps outlined in this blog post and taking the necessary safety precautions, you can learn how to solder effectively and create strong, reliable connections between metals. Remember, practice makes perfect, so don’t be discouraged if your first few attempts are less than perfect. With practice and patience, you’ll develop the skills and confidence to tackle even the most challenging soldering projects. So, go ahead and give it a try, and see how this versatile skill can help you bring your creative ideas to life.